With spring quickly approaching, I decided to create a fresh, new wreath for my front door. I just love my quick and easy bright floral wreath!
The red, orange and yellow flowers show up so well against the dark color of my front door. They really pop, don’t they?!
Follow my 4-step tutorial and see how easy it will be to make a wreath of your own.
QUICK AND EASY BRIGHT FLORAL WREATH
I wanted to stretch my budget by making a wreath that could be used for spring through the summer months.
Also, the flower color combination needed to coordinate with my 2 red Adirondack front porch chairs and yellow striped pillows.
Yep, that’s right, they’re plastic chairs. I’m very frugal!

Depending upon your budget, the flowers and greenery can be purchased at a craft store or at Dollar Tree.
Dollar Tree has really stepped up their game on the flower sections. I’ve started using their flowers more often like I did to make my spring door hanger.
As an Amazon associate, I earn from qualifying purchases at no additional cost to you.
SUPPLIES NEEDED:
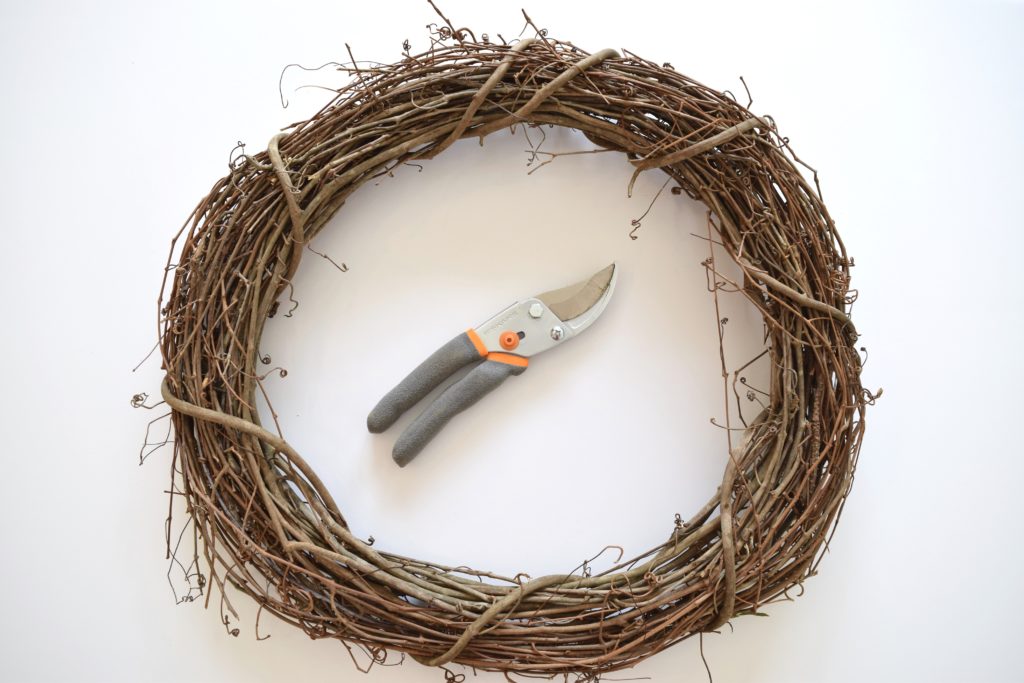
- grapevine wreath
- 4 floral bushes – mine had a few greenery sprigs attached
- 2 greenery bushes – geranium leaves
- 1 greenery bush – water hyacinth leaves
- wire snips
- floral wire for hanging
I started with a grapevine wreath and garden clippers. You can use any tool that’s sharp enough to clip the wire in the floral and greenery bushes.
STEP 1 – PREPARE THE FLOWERS AND GREENERY
Clip the flowers and greenery off at the base of each stem. Make like piles of flowers and greenery. Push the leaves up the flower stems so they are under the flower.

I love that this project does not require any florist wire or hot glue for attaching the stems!
Start poking your cut pieces into the grapevine wreath, just like I did when I made my easy fall porch wreath update.
Since hanging my wreath on my front door, I’ve had no problems with anything falling off the wreath.
STEP 2 – START ADDING FLOWERS TO THE WREATH
I started with the yellow lilies, and continued varying the color placement for the rest of the flowers.

Once I used all the flowers, my wreath looked nice and full!

STEP 3 – ADD THE GREENERY STEMS TO THE WREATH
Place the geranium and hyacinth stems to fill in where it looks like greenery needs to be. Now, add the few greenery springs that you had snipped from the floral bushes.
STEP 4 – PREPARE TO HANG THE WREATH
I used florist wire to hang the wreath on my door hanger.
- snip off about 10 to 12 inches of florist wire
- carefully loop wire around the top of wreath pulling wire ends towards the back of wreath
- determine the best length for hanging your wreath
- twist wire to close your loop and snip the extra wire
Now, you’re all set to make your own quick and easy bright floral wreath! Will you be using bright and colorful flowers for your wreath or a different color scheme?


MORE WREATHS YOU MIGHT LIKE TO SEE:


Sharing my floral wreath at these fabulous blogs!

ABOUT THE AUTHOR
AllysonAllyson is the founder and content creator of Southern Sunflowers which shares tutorials for DIY crafts and decor on a budget.
So pretty! I love the mass of vibrant colour.
Thank you, Julie! My bright wreath looks good with my front porch planters of red geraniums and bright yellow lilies blooming.
Your summer wreath is lovely. Love the cheerful colors. I am happy to feature your bright floral wreath at Love Your Creativity. Happy Summer.
Linda, thank you again for featuring my floral wreath!
Hello, this is one of my personal favorites for last week’s Encouraging Hearts and Home. I hope you stop by and say hello, this post has also been pinned to the Encouraging Hearts and Home board! Thank you for being a part of Encouraging Hearts and Home, we appreciate all that you share. Have a great week ahead!
Melynda, thanks again for featuring my floral wreath!
The wreath looks stunning. Thanks for the step by step instructions. I am going to try making one.
I’m so glad you like my wreath well enough to make one of your own. Thanks for dropping in!
Allyson,
Congratulations, you are being featured on Thursday Favorite Things. I hope you stop by. https://www.eclecticredbarn.com/2021/04/thursday-favorite-things-party_8.html
Hugs,
Bev
Thanks again for featuring my floral wreath – much appreciated. 🙂
Hi Allyson! Thanks for sharing your colorful wreath at Vintage Charm!
Thanks for dropping by and for hosting a fun party filled with lots of inspiration!
That is beautiful! Pinned.
Thanks Joanne! Glad you like my wreath and thank you for pinning 🙂
I really like your wreath and how you matched it with the porch furniture (I have the same chairs but in light blue). Thanks for letting me know which post was yours this week and sharing each week with us at #HomeMattersParty.
So glad you like my wreath! I always enjoy seeing what everyone shares at your party. Thanks for visiting!
Sorry I am late! I have been running behind this making memories! Thank you for sharing at #OverTheMoon. Pinned and shared. Have a lovely week. I hope to see you at next week’s party too! Come party with us at Over The Moon! Catapult your content Over The Moon! @marilyn_lesniak @EclecticRedBarn
Thank you for pinning, and I’ll see you at next week’s party! Enjoy the rest of your week 🙂