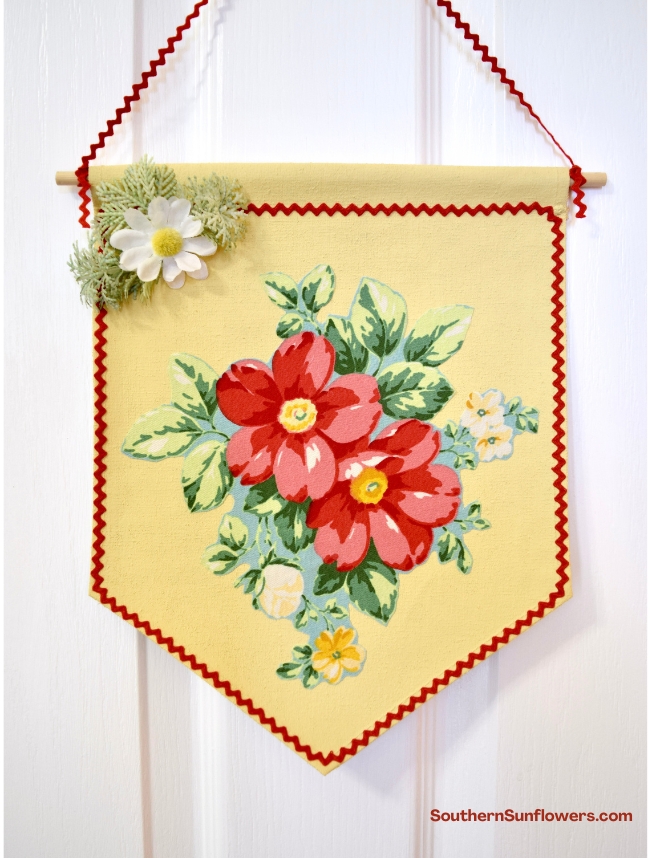
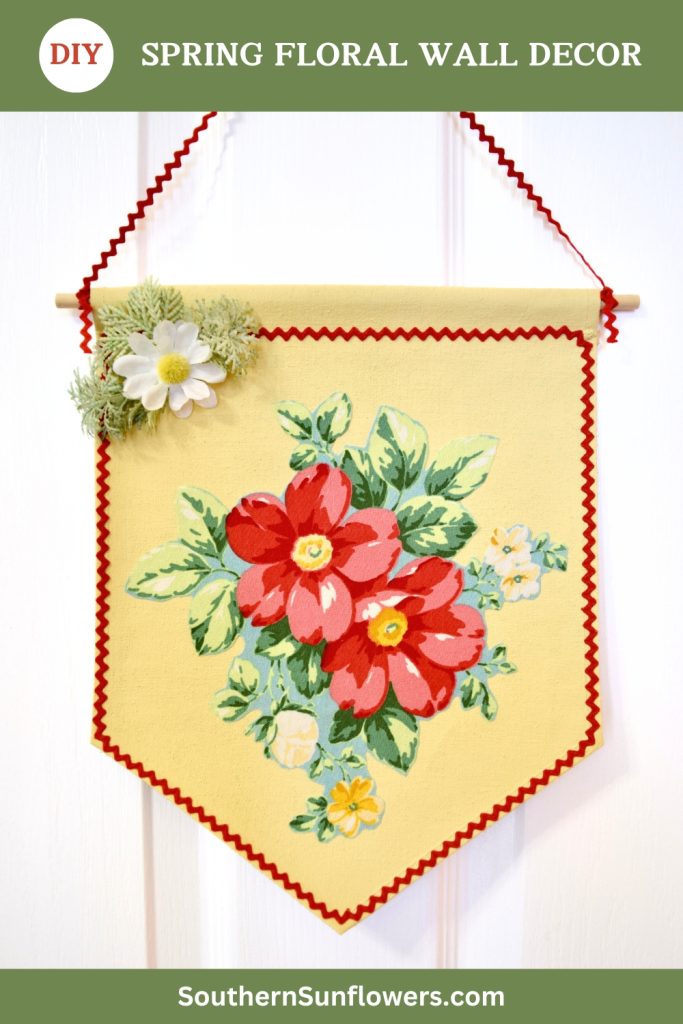
Flowers are slowly popping up for the spring season and they’ve gotten me in the mood to create a new floral project. My DIY flower wall hanging for spring decor is the idea I came up with for an easy DIY project.
This simple floral decor can be used as hanging wall decor or as an inside door hanger.
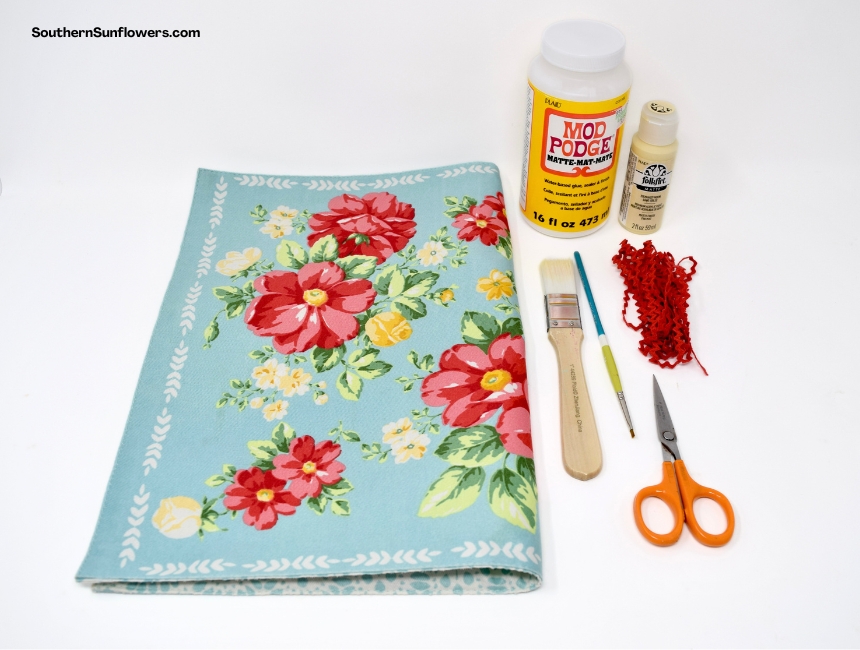
The beautiful floral fabric I used came from a twill placemat that I found at a consignment store. It was sold “as is” because of a spot, but the flower print was so pretty that I couldn’t pass it up!
DIY FLOWER WALL HANGING FOR SPRING DECOR
It’s time for the “Do it Over” Designers group to once again share our newest upcycled, recycled, DIY projects with our readers. Our items can be found in closets, barns, garages, yard sales, thrift stores, you name it! The theme this month is “fabric” so at the end of my post you’ll find links to see 9 more DIY projects that are fabric related.
As an Amazon associate, I earn on qualifying purchases at no additional cost to you.
SUPPLIES NEEDED:
- blank canvas banner
- sturdy floral fabric
- acrylic craft paint
- paint brushes
- Mod Podge
- spray adhesive
- rick rack trim
- faux flower and greenery pieces
- hot glue gun – the mini tip is my fave
- wire cutters
- fabric detail scissors
Although you can purchase heavier weight fabric at a fabric store, such as decorator or outdoor fabric, you may discover it’s cheaper to find fabric items with flowers in a thrift store.
WHERE TO BUY A BLANK CANVAS BANNER:
I purchased the canvas banner at Hobby Lobby during a 90% clearance sale. I could no longer locate any being sold in craft stores, but I did find a 4-piece set on Amazon similar to the one I used.
HOW TO MAKE A FLORAL WALL HANGING
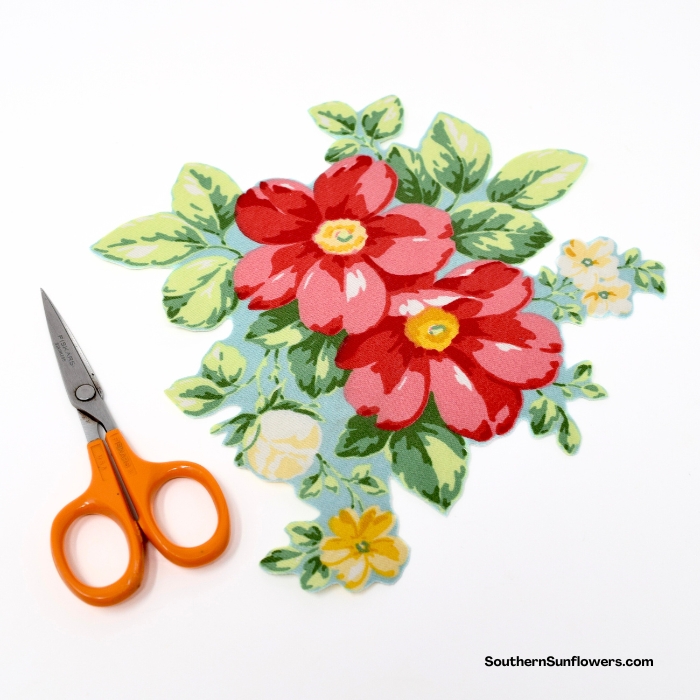
STEP 1 – CUT THE FLOWERS FROM THE FABRIC
Fussy cut the floral design from the piece of fabric, which is cutting out a specific area that will be used for your floral wall hanging project. I used fabric detail scissors for the intricate design.
I isolated the particular floral grouping that I thought would look best and fit my design area.
If you use a placemat like I did simply pull the two layers away from each other and snip into one layer in order to get to the flower print you plan to use.
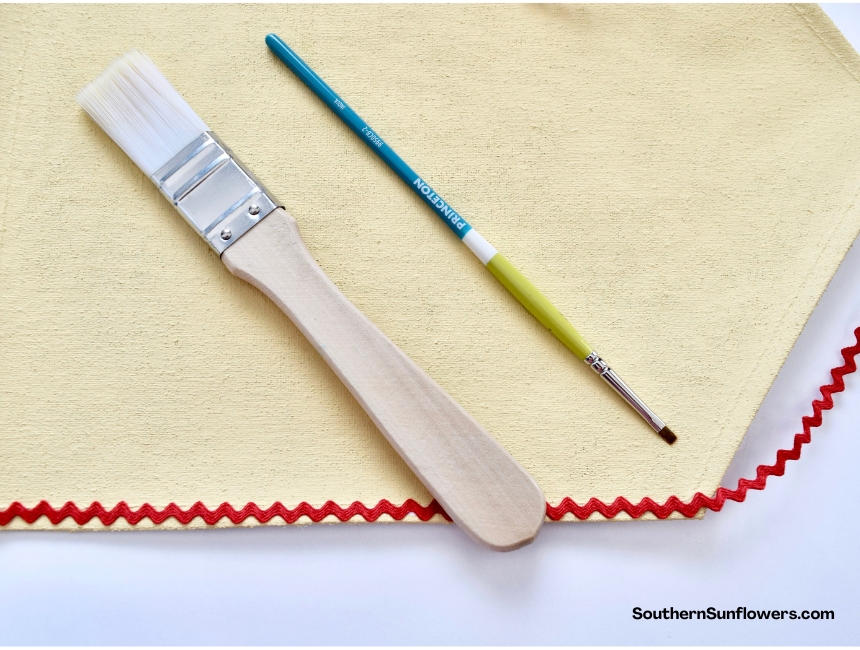
STEP 2 – PAINT THE HANGING BANNER
After removing the dowel rod, begin painting the banner with an acrylic craft paint that coordinates with your flowers. 2 coats are needed.
STEP 3 – GLUE ON THE FLOWER FABRIC
Use a permanent spray adhesive to attach the flower fabric. You’ll need a large area to spray the back of the fabric piece to allow for the overspray.
Place the fabric down and press and smooth all areas to ensure adhesion.
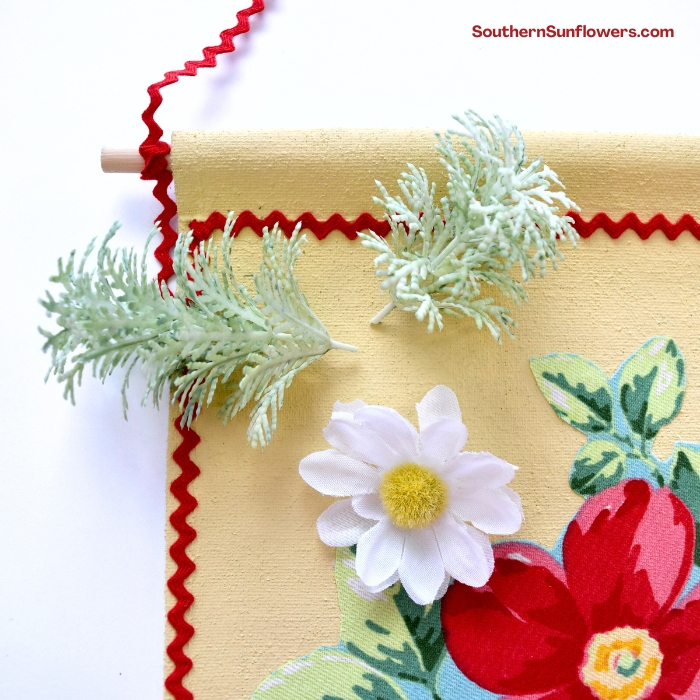
STEP 4 – ADD THE RICK RACK TRIM
You’ll need to use a small bristle head artist brush and something to press down with other than your finger. I used the end of a paint brush to press the trim down (as seen in photo below.)
Begin glueing the trim at the top left hand corner using Mod Podge. Work in about two inch sections at a time.
Use the artist brush to dab small dollops of Mod Podge where the trim will be placed.
- Dab the glue on in a thin line at the outer edges of the canvas.
- Lay the trim down.
- Don’t press so hard that glue seeps onto the top of the trim.
- Slightly curve the trim at all corners.
STEP 5 – MAKE THE RICK RACK HANGER
- Reinsert the dowel rod.
- Tie the rick rack on the one end of the dowel.
- Determine the length you want your wall hanging to hang.
- Cut the trim.
- Tie the rest of the trim on the other side of the dowel rod.
STEP 6 – ATTACH THE FAUX FLOWERS AND GREENERY
I used wire cutters to snip the faux flower head and the greenery. Use hot glue to attach each to the floral canvas.
With the type of greenery I used, some sprigs needed to be trimmed so the greenery would lay a little flatter against the canvas.
Now, admire your work! This DIY flower wall hanging is so quick and easy to make and will surely look lovely as part of your spring decor.
Wouldn’t this spring wall decor be a wonderful gift for a special occasion like Mother’s Day or a birthday?
YOU MAY ALSO LIKE TO SEE THESE DECOR PROJECTS:
SPRING DOOR HANGER – DOLLAR TREE DIY IDEA

VISIT THE 9 LINKS BELOW TO SEE MORE FABRIC DIY PROJECTS

Sharing my DIY flower wall hanging at these fabulous blogs!

ABOUT THE AUTHOR
AllysonAllyson is the founder and content creator of Southern Sunflowers. She shares tutorials for DIY crafts and decor on a budget.
Initially, I thought this was embroidered, and I thought oh, I wish I had that talent! But now? I am like, I think I can do this one too. Thank you for sharing, this craftiness is awesome Allyson!
That placemat fabric is just divine! It’s that perfect chintzy old fashioned but also really modern vibe blend. I love how you’ve used it on this wall hanging. And ric rac is making a big comeback to isn’t it? I see it everywhere. My paternal grandma loved ric rac so she definitely would have approved!
I love that floral pattern! It’s super pretty, and rick rack is always a good thing in my world. Your wall hanging looks amazing! It has a vintage, but classic at the same time, kind of vibe.
I love it and I have a fabric banner like that! I’ve been wondering what to do with it!
Tania
Tania, I was happy with the overall result. The canvas banner accepts paint really well.
Super cute and adorable, Allyson! I love the fabric you chose! Your project is very inspiring to make a few! One for each season!
Thank you, Gail! That’s a good idea to make one for all seasons.
I had no idea these existed; your project is beautiful! So bright and cheerful; I could stare at it all day instead of the tons of snow we got yesterday lol!
Sara, so happy you like my spring decor!
I love the vintage look and the new life you gave that placemat, Allyson, and I think the red rick-rack is the perfect accent!
Ann, thank you for the compliments and thanks for hosting another fun hop!
I bought one of these banners last week without a purpose and you have inspired me! My plan was to just paint on it, but i like the idea of adding fabric! Cute idea.
Patti, I’m happy I could inspire you to get your banner project started. Have fun!
Oh my goodness, I love this! The fabric and the pattern is so colorful, but that rick rack is the icing on the cake. So sweet! I think I need to pick some up immediately to spice up my spring decor.
Thank you, Kim! I have a ton of rick rack so I’m glad I finally had a project where it could be used.