It’s almost time for school to start back, so let me show you how to make a DIY back to school photo frame. You’ll be able to display your child’s picture to celebrate their first day of school!
This pencil frame craft idea is so quick and easy to make, and the best part is that it cost less than $10 to make. I love a budget-friendly craft, don’t you?
Not only can you use the picture frame each year for displaying first-day-of-school pictures, but you can also make a cute school saying on your computer to print out like I did. Happy School Days!

DIY BACK TO SCHOOL PHOTO FRAME
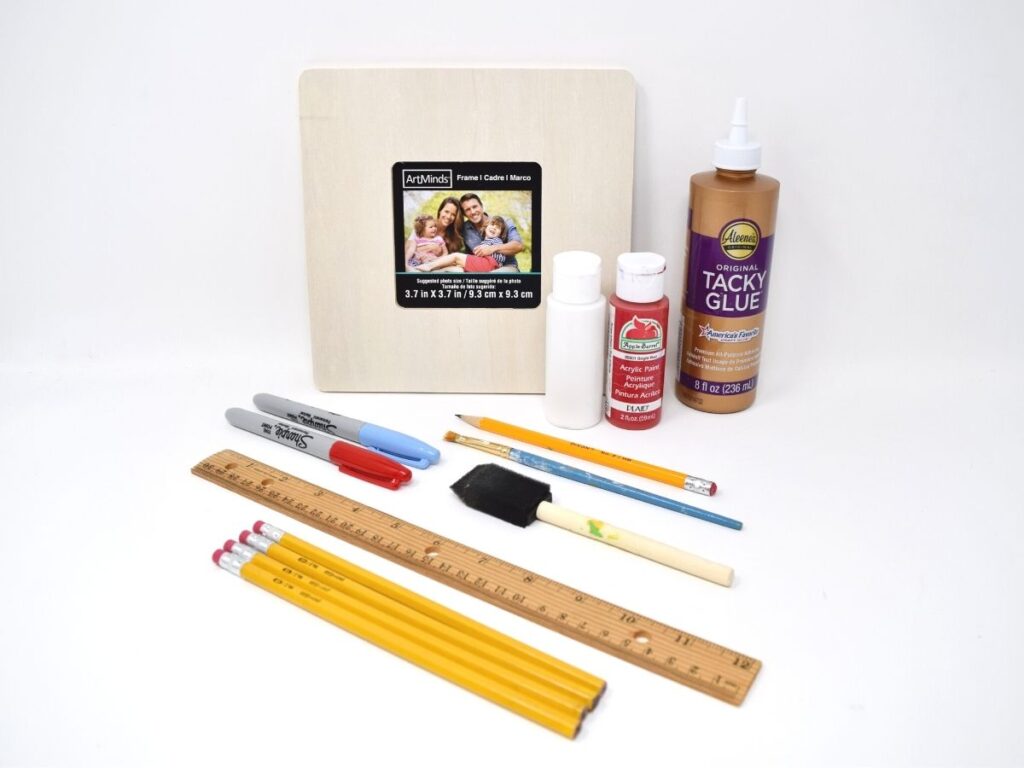
SUPPLIES NEEDED:
Unfinished Wood Frame ~ 80 cents ~ @ Michael’s using a 20% coupon
Red & White Craft Paint ~ $1.00 ~ @ Walmart 50 cent each
Tacky Glue, Pencils, Ruler, Foam Brush, Artist Brush, Markers ~ $6.00 ~ @ Dollar Tree $1 each
This DIY Back-to-School photo frame was made for $7.80
2024 UPDATE: Craft supplies have increased in price.
HOW TO MAKE A BACK-TO-SCHOOL PHOTO FRAME
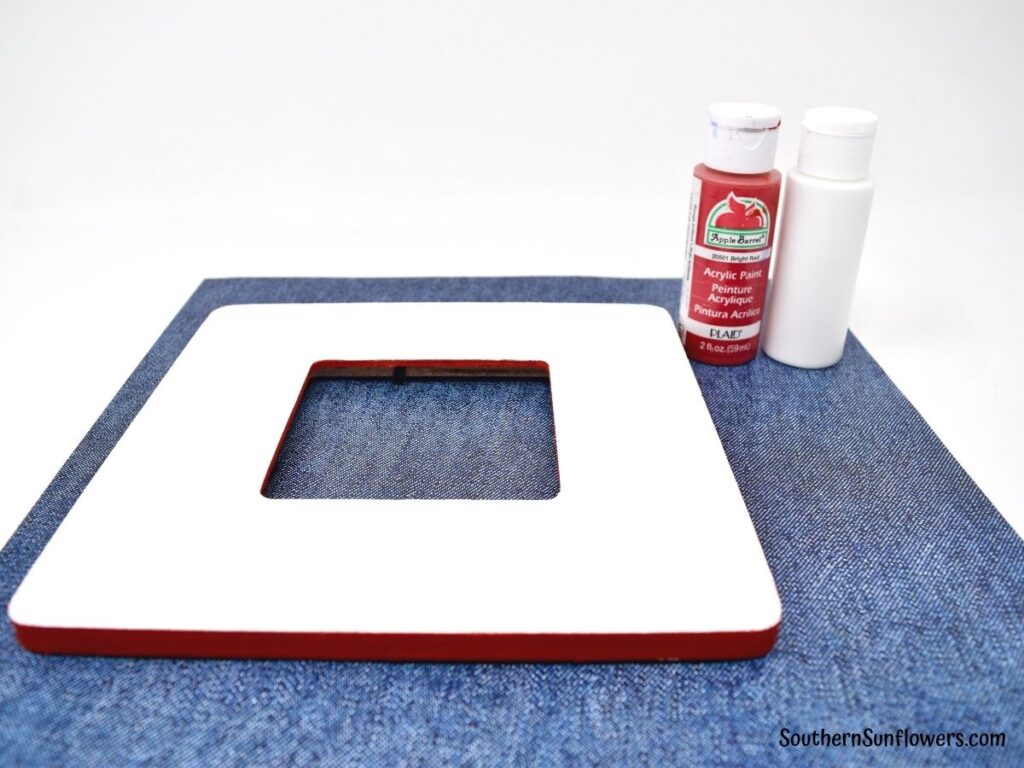
STEP 1: PAINT THE WOOD FRAME
Use an artist brush to paint the outside edge and inner edge with bright red craft paint. You will need to paint two coats. Let dry in between coats.
The foam brush will be used to paint the front and back sides with white craft paint. You will need 2 to 3 coats of paint. Let dry in between coats.
Use the artist brush to touch up any boo boos.
STEP 2: DRAW NOTEBOOK PAPER LINES
Using a ruler and pencil, lightly mark lines to create notebook paper. See photo below.

STEP 3: COLOR THE PENCIL LINES
I used Sharpie markers for this step because that’s what I had on hand, but regular craft markers will work just fine. The Dollar Tree carries craft markers. You can also find big discounts on markers at back to school sales.
Use the ruler and a blue marker to color the horizontal notebook lines. Line up the ruler just slightly below your pencil line so that your marker will be able to color directly on the line.
Use the ruler and a red marker to color the vertical line red and, again, place the ruler slightly away from the pencil line to color the line.

STEP 4: ATTACH THE PENCILS
I chose to make my pencil design 3-D by adding the last two pencils on top of the first two pencils. Also, I only let the pencil wording show on just the top two pencils.
Run a bead of Tacky Glue along one beveled edge of the pencil, then press it down into postion, directly on the frame. Follow suit with the 2nd pencil.
Allow time for the glue to dry completely before attaching the next 2 pencils.
Before glueing the next pencil, place the pencil so you can get an idea as to where the glue spots will need to be. Make sure you place glue on the same beveled edge top and bottom. Glue each pencil in place.
TIP: Pay attention that the pencil ends are even along the edges of the frame, and that each pencil visually looks like they’re in the same spot on each side.
FOLLOW ME ON PINTEREST FOR LOTS OF DIY CRAFTS AND INSPIRATION!

I think this DIY back to school photo frame is adorable for displaying first-day-of-school memories. Do you think your kids will enjoy making this, too? I know this adult did!


MORE DIY FRAMES THAT MAY INTEREST YOU:
It’s once again time for “10 on the 10th, when I join a few of my blogger friends and we each create a themed project each month.
For the month of August, we’re sharing back-to-school projects that cost less than $10 to make. You’ll find their projects at the end of my post. Don’t miss out!
UPDATE 2024 – Craft supply prices may have increased for these projects.
SEE WHAT MY FELLOW BLOGGERS HAVE CREATED FOR UNDER $10:

Tammy @ Patina & Paint
Terrie @ Decorating & More With Tip
Barb @ French Ethereal
Allyson @ Southern Sunflowers (that’s me)
Sharing my back to school craft frame idea at the following fabulous blogs!

ABOUT THE AUTHOR
AllysonAllyson is the founder and content creator of Southern Sunflowers. She shares tutorials for DIY crafts and decor on a budget.
This is adorable! This would be great to make and place your child’s first day of school pictures in each year until they get the fall pics in! Great job!
Niki, thanks for the compliments and for stopping by! 🙂
Allyson, I love that you made a school supply photo frame!! It’s really cute and a fun place to put those fall back-to-school photographs of the kids each year.
I tried to leave a message for you a few minutes ago, but I don’t think it took, so let me say again how much I love that you made your own “lined paper!” I was just inventorying the supplies in our school workroom today and your “lines” are right on the money!!! Very cute idea for a teacher gift and to put up in your own home for fall decor. <3
Enjoy your sweet photo frame and the happy thoughts you'll have about the young person whose image gets to be inside it soon,
Hugs,
Barb 🙂
Cute cute cute, Allyson!!! I love how your made your “paper lines!” I had to inventory our supplies in the workroom today at my elementary school and your lines are right there! Fun idea for a Christmas gift for any student’s teacher, for sure!!!
Enjoy using yours here for fall,
Barb 🙂
Yes, a perfect gift for a teacher, too! So happy you think my frame is cute. Thanks, Barbara. 🙂
This super cute and straight forward and easy!
Cindy, I love a quick and easy craft and this frame definitely fits the bill.
Looks so cute. I think I will have to do this craft for my craft room. Love it!
Glad you love my back to school frame, Terrie!
Very cute Allyson! Love the notebook paper!
Thanks, Jenna! The notebook paper was so easy to make with markers.
Allyson this is just the cutest frame ever. I can just see using it as you did , but also taking a photo each year and using it that way. Super cute idea!
Thanks, Tammy! So happy you think my back to school frame is cute.