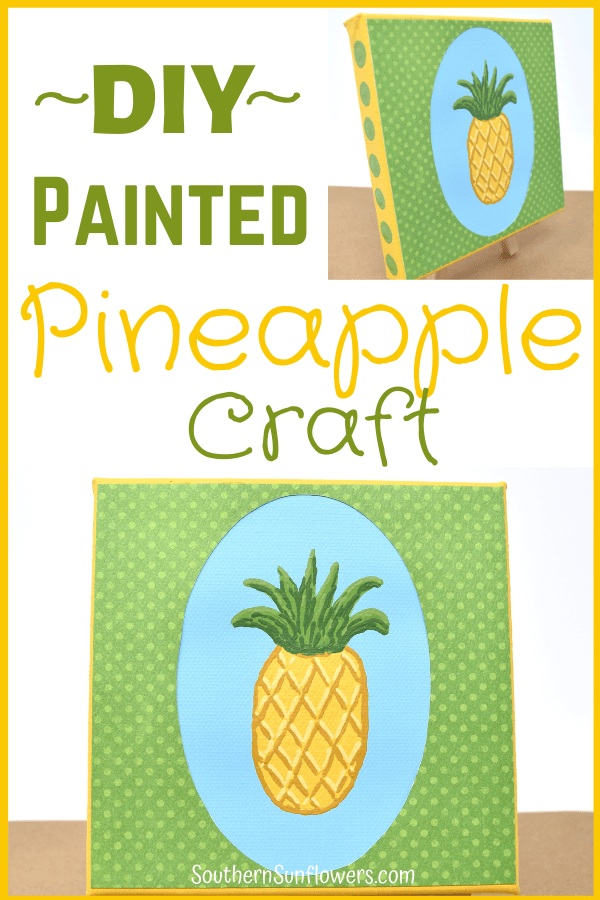
Learn how to make my summer DIY painted pineapple craft. Follow my easy step-by-step instructions to create your own. No painting perfection needed!
I recently purchased a stencil with tiny pineapples to make gift tags, but the stencil instead inspired me to create a fun summer pineapple craft. I chose to use a softer color scheme versus the bright summer color scheme you usually see. Gotta’ be different!
DIY PAINTED PINEAPPLE CRAFT

SUPPLIES NEEDED:
- canvas – 5 X 5
- green polka dot scrapbook paper
- oval stencil
- ruler
- pencil
- scissors – I used decoupage scissors
- light, medium, and dark yellow acrylic paints
- light, medium, and dark green acrylic paints
- blue acrylic paint
- small foam brush
- artist liner brush – use a decent quality brush
- paper cutter
- Mod Podge

HOW TO PAINT AND MAKE A PINEAPPLE CRAFT
STEP 1 – PREPARE THE CANVAS
Using your pencil and ruler, lightly draw a line on the top of the canvas and on all 4 sides of the canvas to form a “frame.”
You want to draw your “frame” so that it will show enough yellow for the accent color on top of the canvas.

Using only the straight edge tip of the foam brush, start painting with the yellow paint. Carefully pull the paint from the pencil line down towards the bottom of the canvas.
Once the yellow paint is dry, use the foam brush to paint the center area with blue paint.
You don’t have to paint the entire white space because the green paper frame with be covering up the unseen areas.
TIP: Do not try to speed up the drying time by using a hair dryer as it will warp your canvas. Ask me how I know!
STEP 2 – MAKE THE GREEN PAPER FRAME
While the blue paint is drying, measure the white space on the canvas and then draw out those measurements on your green paper.
Use the paper cutter to cut out the square you have drawn.
Take your stencil and place over the green square and then draw the oval. I just eyeballed the spacing, but if you don’t trust your eyeballs use a ruler.
Use the fine tip scissors and carefully cut that oval out of the square.
HOW TO DRAW A PINEAPPLE
Place the green paper frame on the canvas. (Do not permanently attach at this time.)
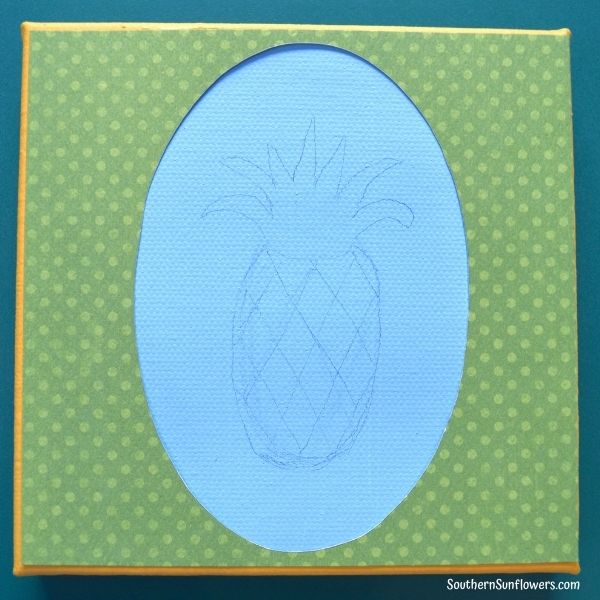
Use a pencil to lightly sketch the pineapple within the oval. Start by drawing a long “U” to form the pineapple.
Draw the pineapple crown.
Eyeball placement (or use a ruler) to draw the diagonals lines. My starting point was where the pineapple joins the crown on each side to make my first lines. Then I continued to draw the rest of the lines.
HOW TO PAINT A PINEAPPLE
STEP 1 – PAINT DARK YELLOW
With your liner paint brush, use the darkest yellow to paint the “U.” Then paint short lines under each diamond. Try not to connect them as a continuous line. See photo below.

STEP 2 – ADD MEDIUM GREEN
Use the medium shade of green to paint the first coat filling in the crown. See photo below.

STEP 3 – ADD MEDIUM YELLOW
Use the medium shade of yellow to paint inside the diamonds. No need to make it smooth and perfect. See photo below.

STEP 4 – PAINT SECOND COATS
While the medium yellow is drying, paint a second coat on your sprigs with the medium green.
After the medium yellow has dried, paint a second coat. I pounced my brush a bit so the yellow wouldn’t look perfect.
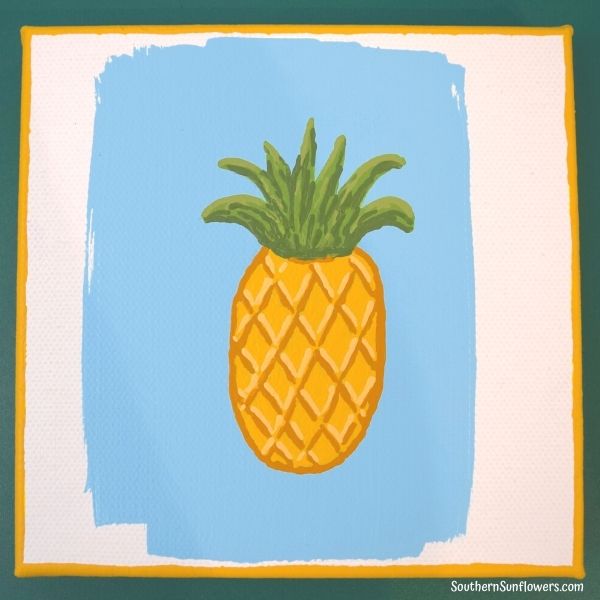
After the medium yellow dries, go back and re-paint the dark yellow diagonals to define. See photo below.

STEP 5 – PAINT HIGHLIGHTS AND SHADOWS
Paint with the darkest green to make shaded areas under the crown and randomly in the middle.
Paint with the lightest green to make the highlights on top of the crown and randomly in the middle.
Now use the lightest yellow to paint short lines on top of the diamonds. Try not to make a continuously line. See photo below.
TIP: Make sure your pineapple is completely dry before continuing.
COMPLETE THE REST OF THE PINEAPPLE CRAFT
1. Touch-up the yellow sides of canvas:
Use the foam brush to touch-up the yellow “frame” portion of the canvas. Touch-up by pulling the yellow paint around towards the back side in areas where it’s needed. Let dry completely.
2. Paint green dots on the canvas edges:
After the yellow touch-up is completely dry, use the wood end of the foam brush and the medium shade of green paint to make polka dots.
Dip the end of the brush in your paint and make a quick dab on the edges of the canvas. Dip and dab for each new dot. Wipe the brush end off periodically so your dots don’t start getting larger with each dab.

3. Attach the green polka dot paper to the canvas:
Use the foam brush to brush a light coat of Mod Podge to the back side of the paper. Carefully place the paper within the yellow “frame” and very lightly rub outward on the paper with your finger tips.
Yay, you’re done with your DIY painted pineapple craft! You can prop your pineapple craft on an easel or add a sawtooth picture hanger on the back side and hang.
YOU MAY ALSO LIKE THESE SUMMER CRAFTS:
DOLLAR TREE SUNFLOWER CANVAS CRAFT

Sharing my pineapple craft at these fabulous blogs!

ABOUT THE AUTHOR
AllysonAllyson is the founder and content creator of Southern Sunflowers, which shares tutorials for DIY crafts and decor on a budget.